The Mill x SCAD
Week 3 : Sept. 23 - 29
Mentor Notes for Team KESS Week 3:
- Emily loves the wardrobe
- Story is a little more clear, the progression and motivation is more clear, Curious about the painting transformation, are we zooming in and getting close to the eye before it does the other transition, is anything happening with the skittles? are things falling or moving? Are there other options to get there, different cuts, and slower push ins to the action. Something different there.
- Slow the the magic, slower buildup as it pushes in.
- Take it to another stage of magic, glamorizing the transition and smooth it.
- Greenscreen for the shoot?
- VTMatte (Mazyar) hugging face script
- Confused about very first shot, skittle flying from side or above?
- For the live action shot, look into getting more depth of field into the frame. Lot of textural detail in the background and in foreground to help the character stand out more. Bring her more forward so shes more in focus? More softness in BG
Team KESS Adjustments:
- Problem: Confusion to where the skittle is coming from
- Solution: Thanks to discussing with Professor Fowler and Professor Gaynor, we decided to change out story to make it even more clear and whimsical. The story update would be that a black and white painting comes alive and reaches out of the frame to grab a persons skittles turning themselves, the painting, and there world in color.
- Adjust and Iterate Look-Dev on
- Skittles (Focus on SSS)
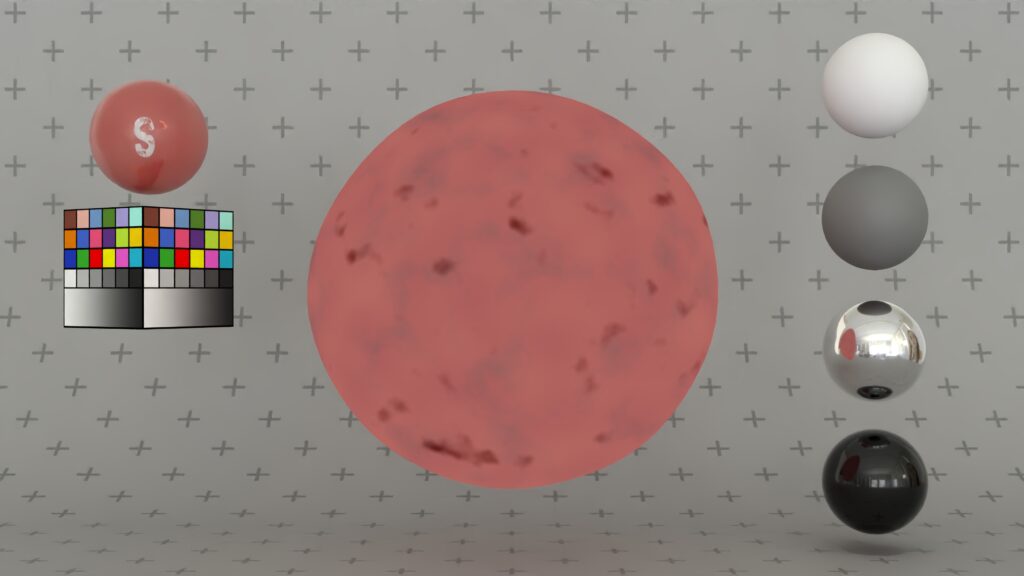
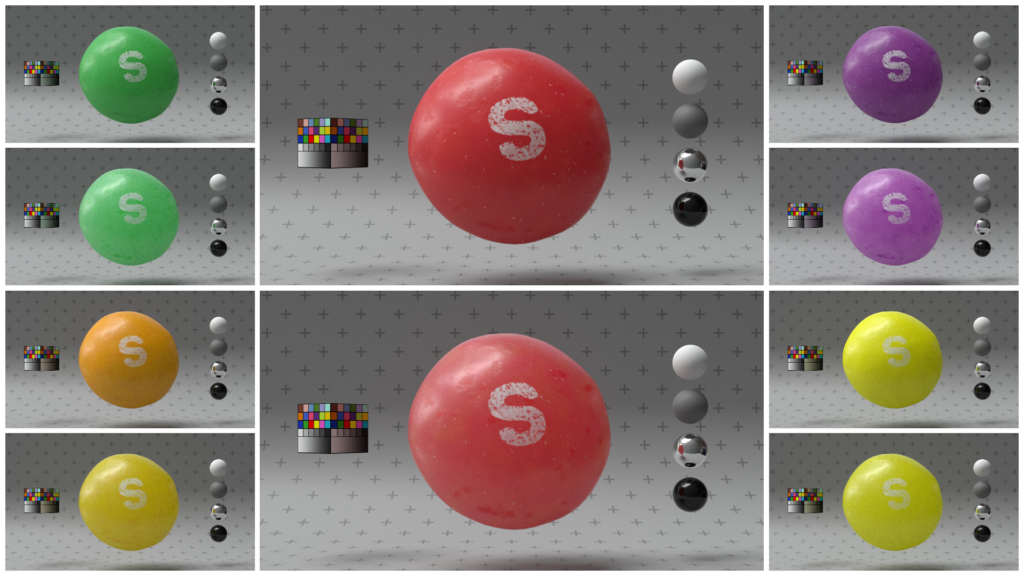
- Asset and Material Quilt with Shader Balls
- PD and helping capture HDRI (For Reshoot)
Skittles Look-Dev R&D
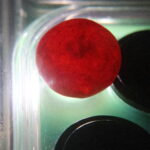
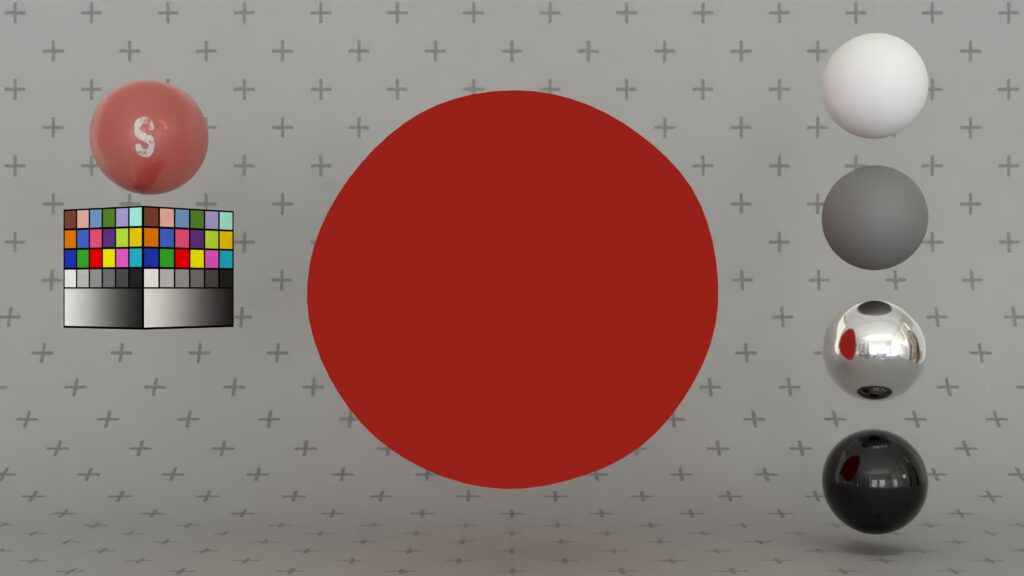
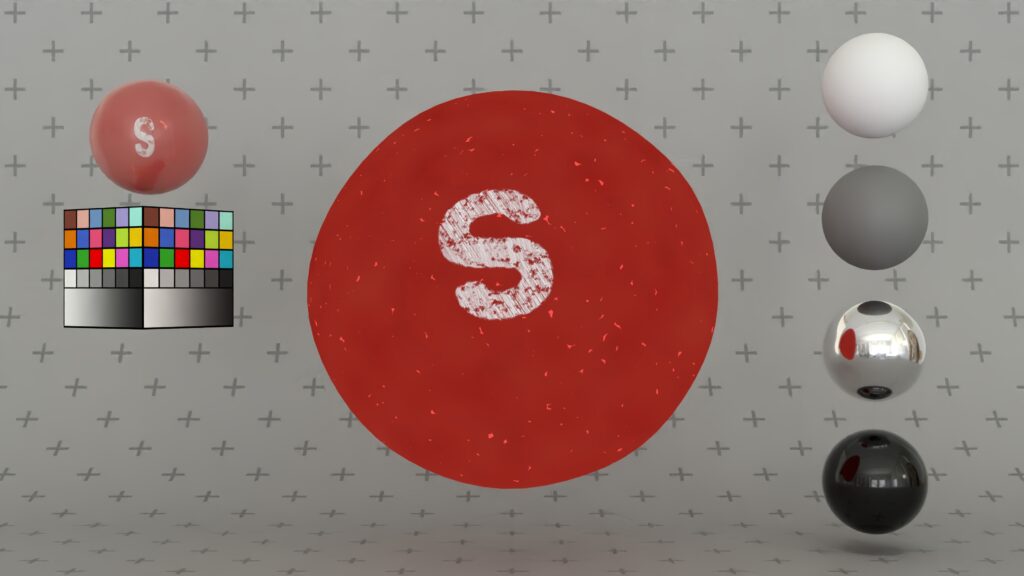
- My main goal and focus was to make out Skittle look perfect. I needed to find a happy medium between an accurate skittle that you get in a pack vs a “pretty” skittle that would represent the product in an accurate and elegant way.
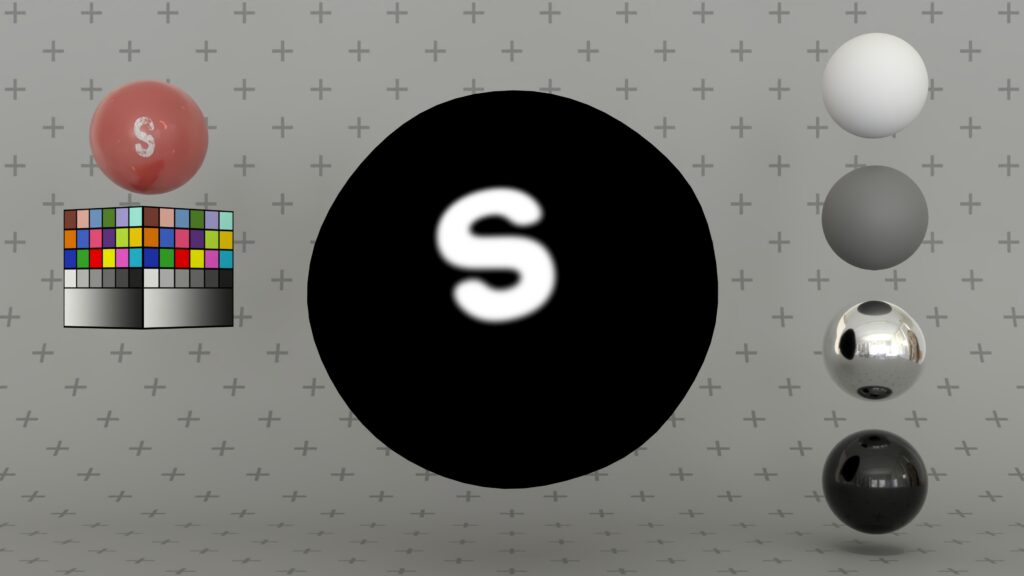
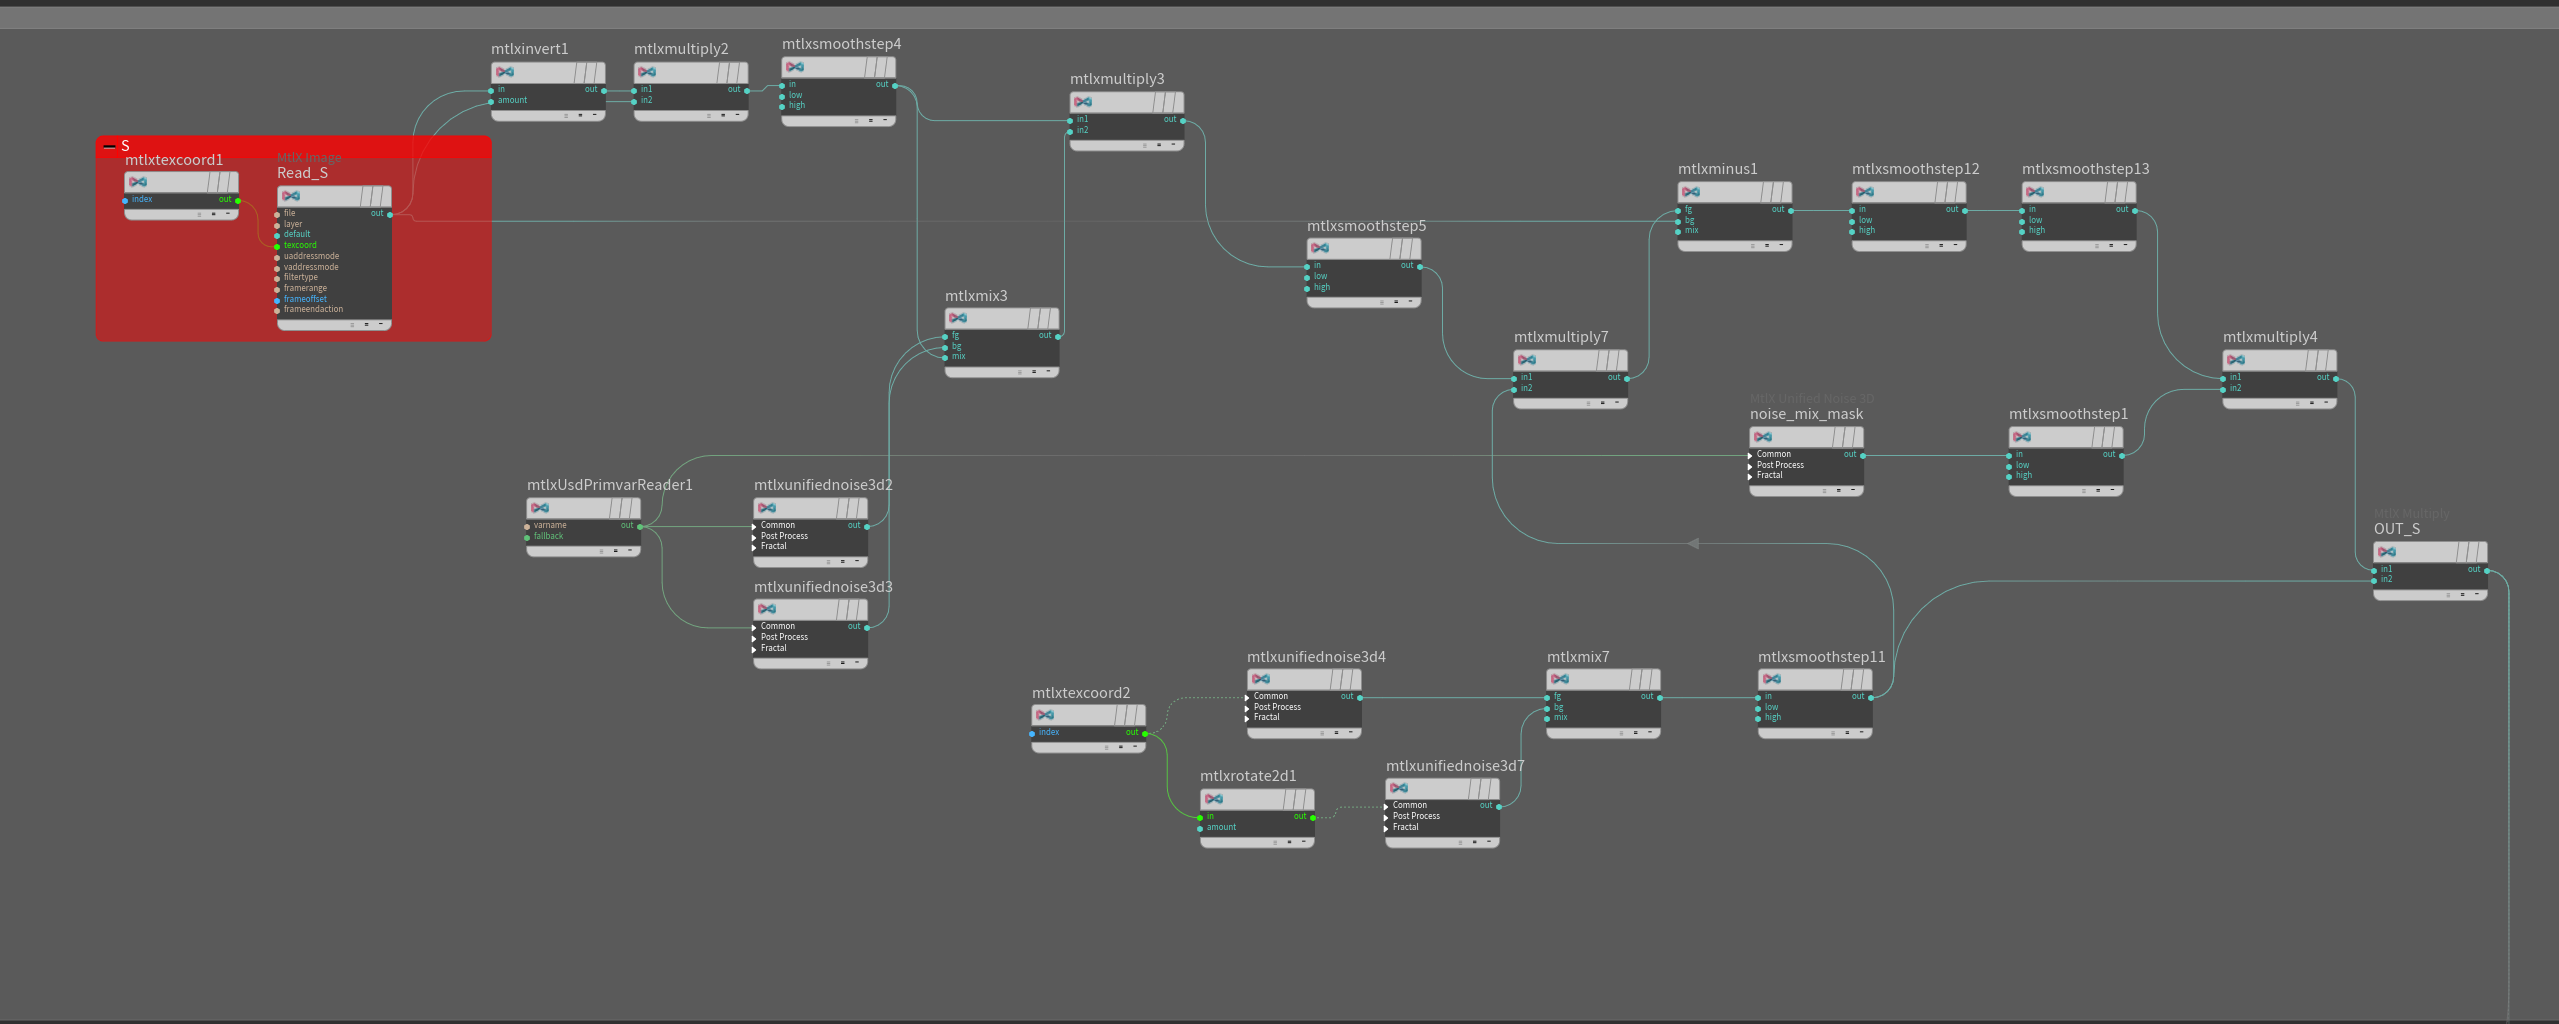
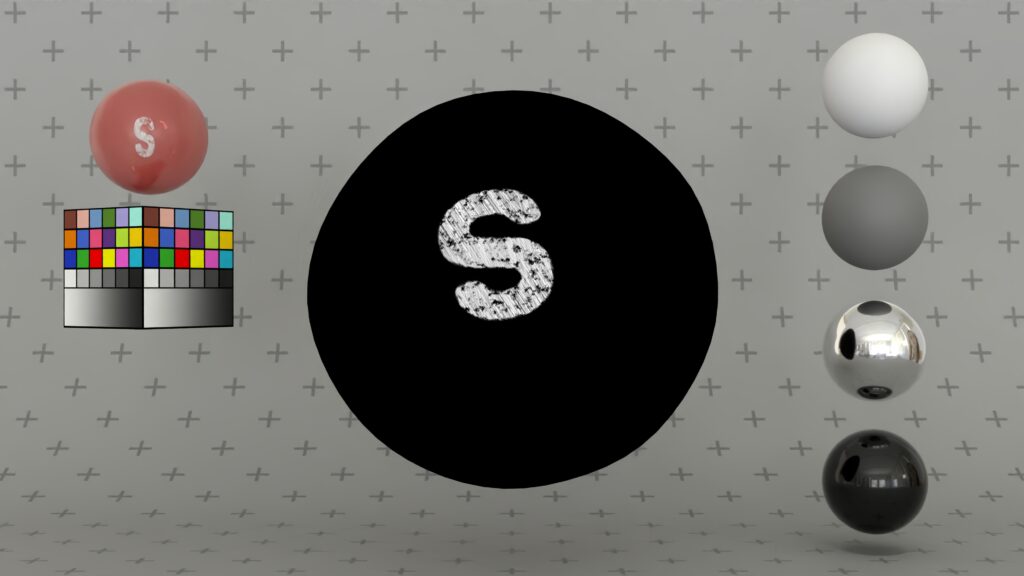
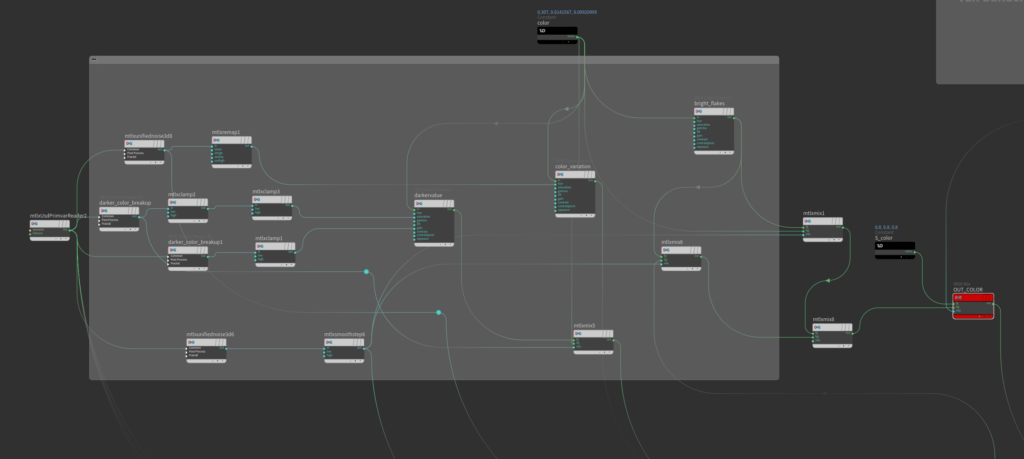
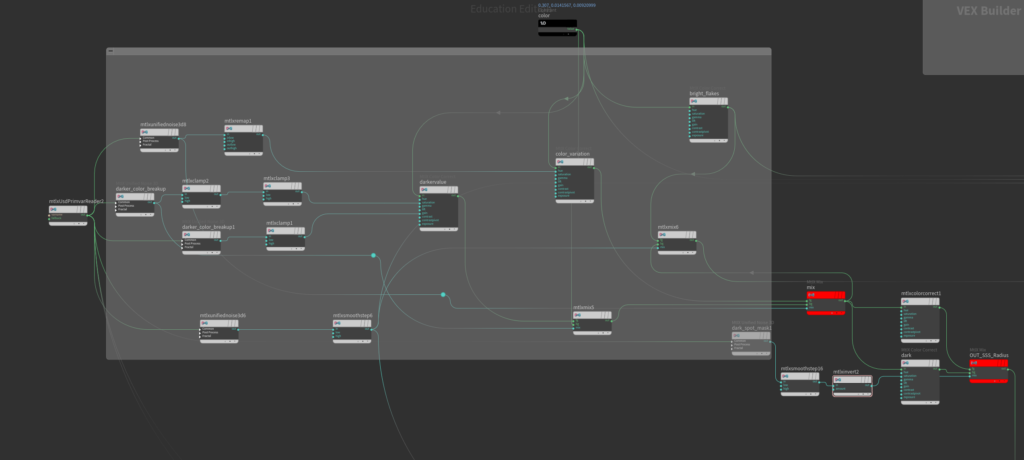
- I made the skittle shader using procedural noise in Karma with only the letter “S” reliant on the UV’s.
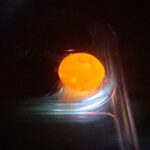
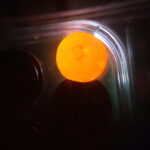
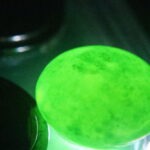
- I played around a lot with breaking up how the “S” looks to make it more realistic and also from observing skittles on how it would look in different lighting scenarios.
“S” breakup Process
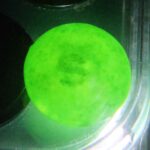
SSS reference by Sydney Relkin
SSS values
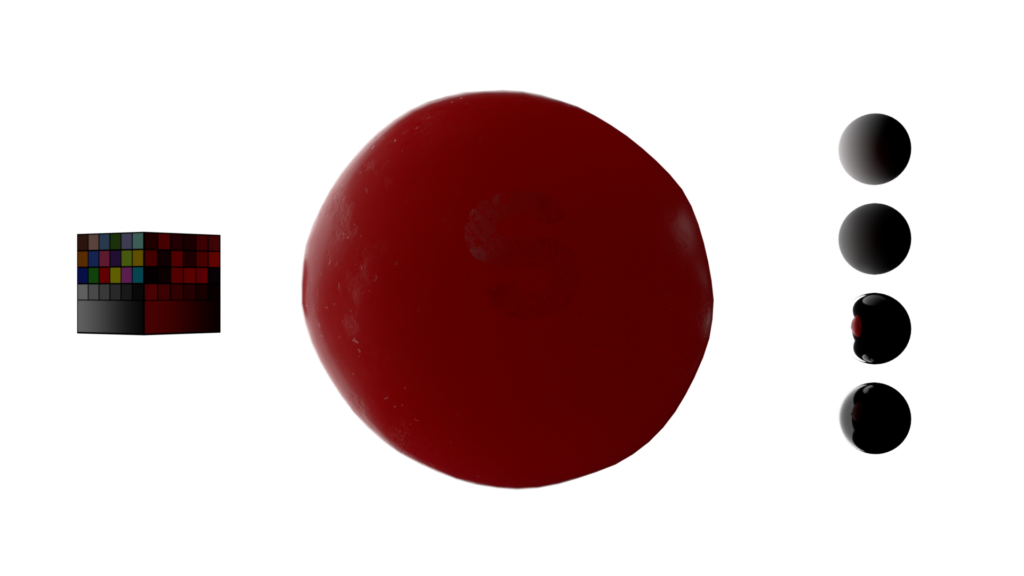
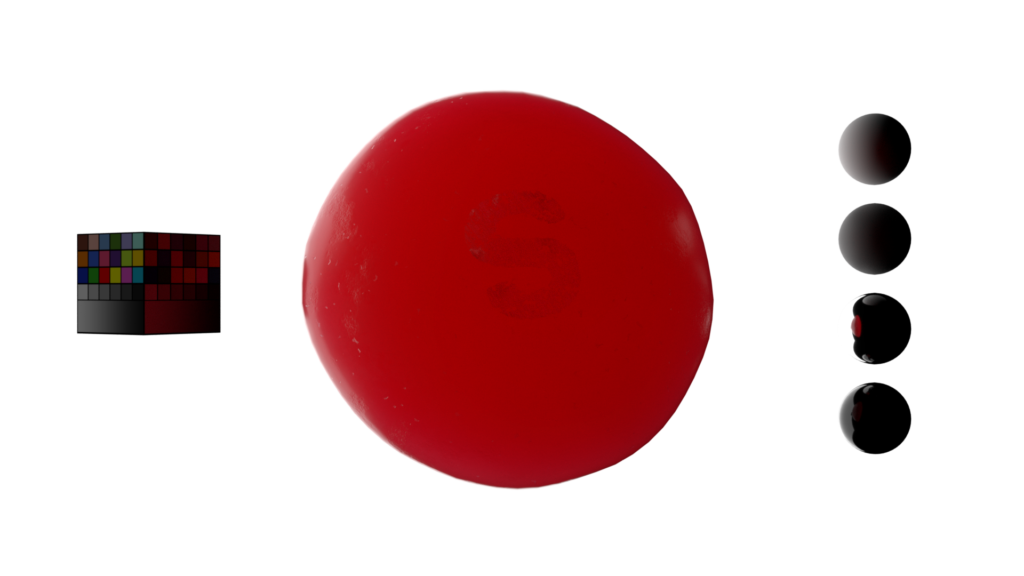
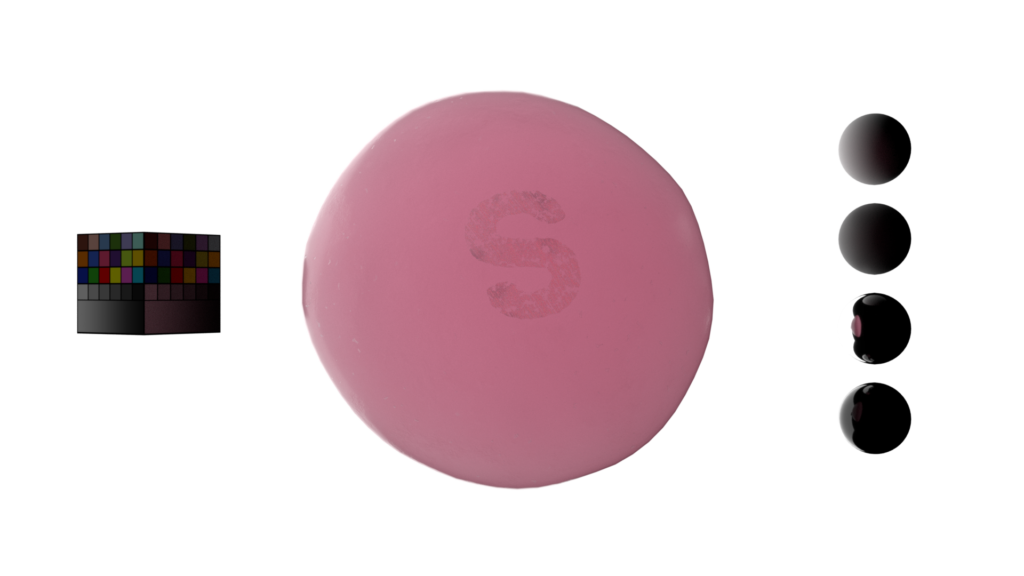
Color Variation Process *Base Color for diffuse and SSS*
Color Variation Process *SSS Radius*
SSS comparisons
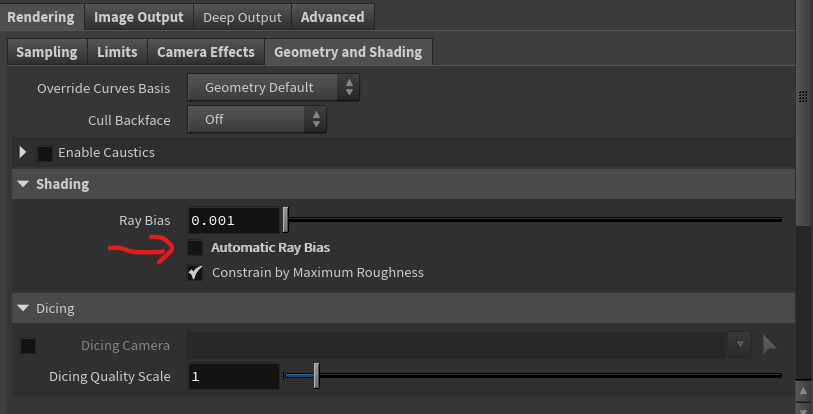
**SUPER IMPORTANT**: if you are getting SSS issues and artifacts on your geometry turn off AUTO RAY BIAS in the Karma Render Settings under: Rendering –> Geometry and Shading –> Shading –> UNCHECK: Automatic Ray Bias
Solaris and Karma Setup
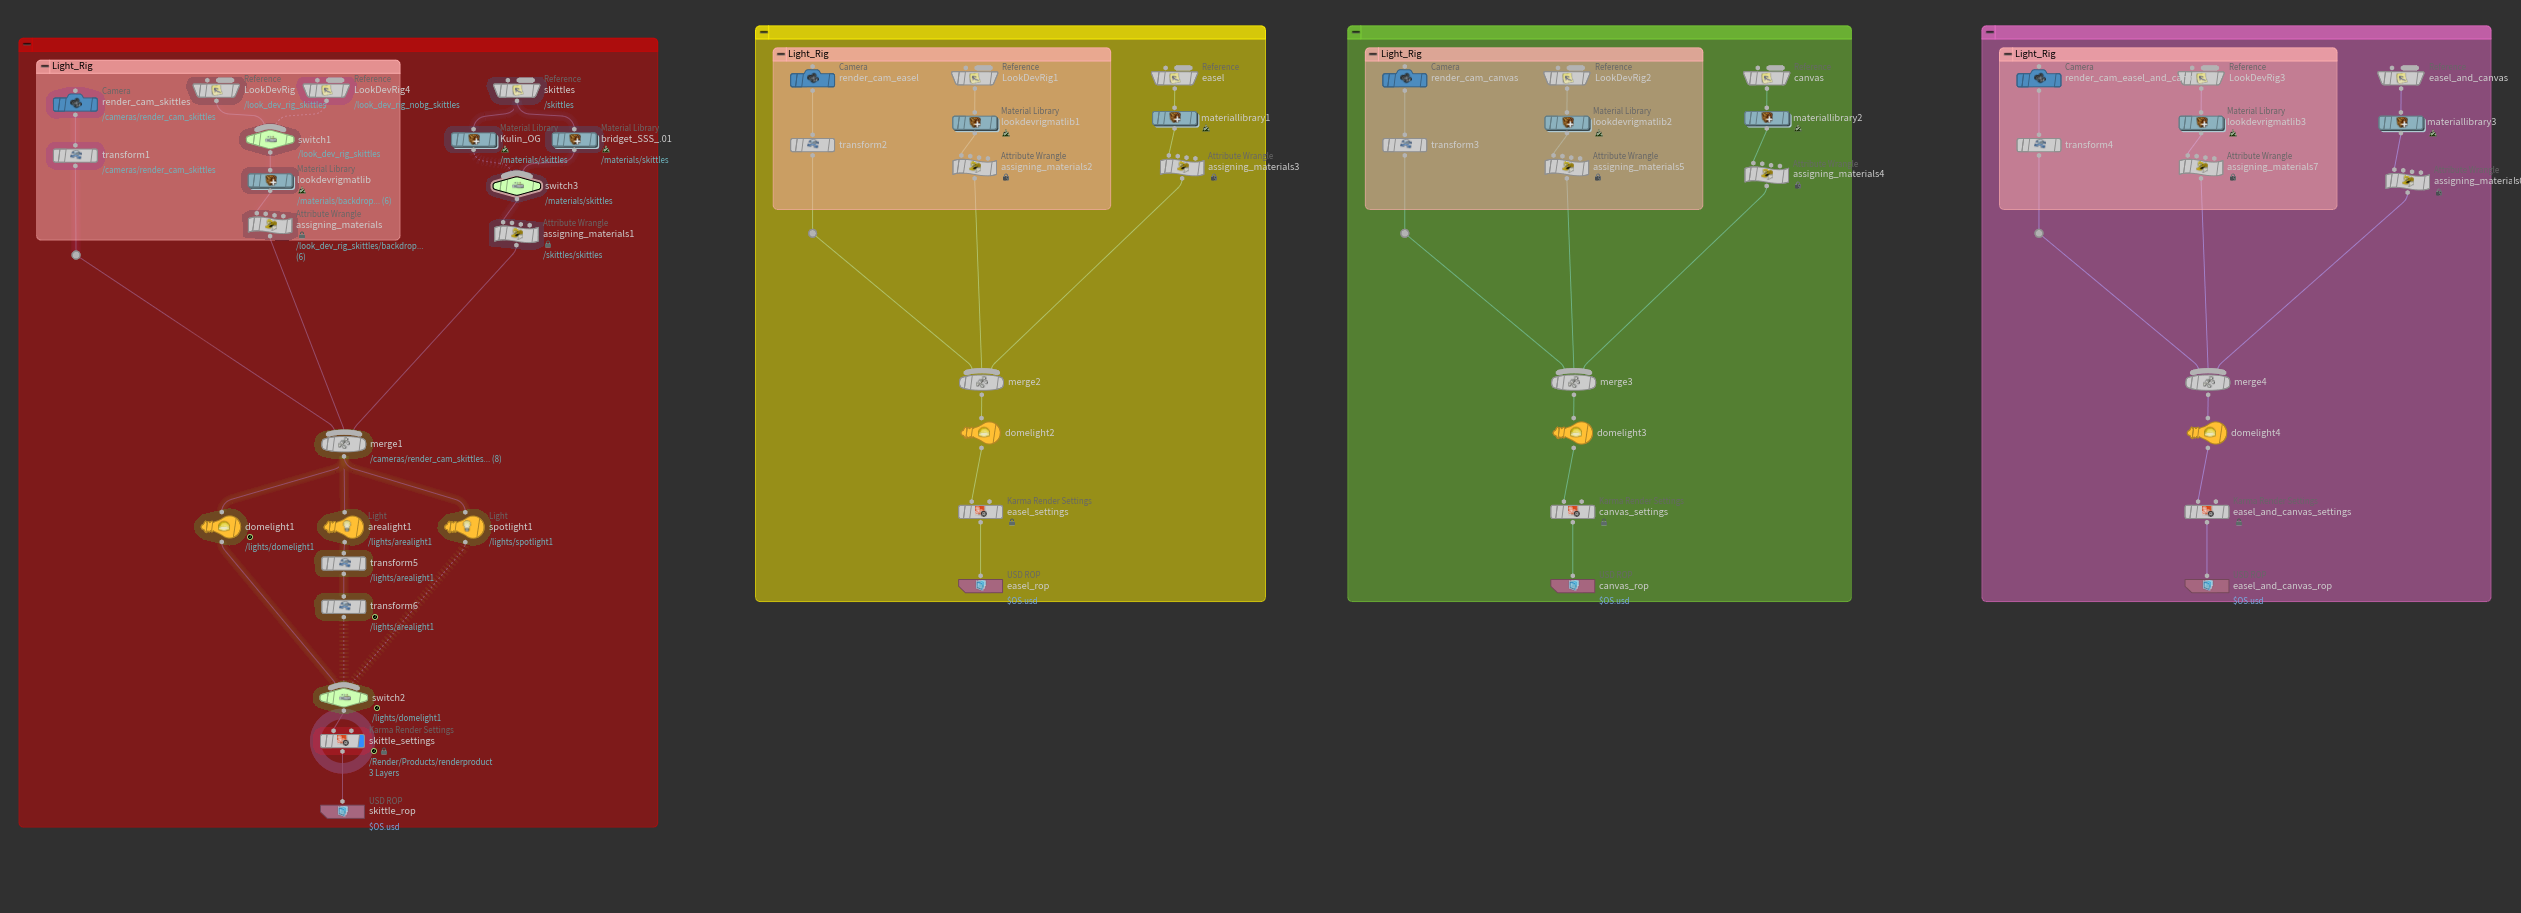
Using Solaris and Karma has been such a huge timesaver in terms of doing look dev and giving special attention to our assets individually. Solaris allowed me to really spend time focusing on my Skittles shader and allowing different light setups all at different scales and all of it working seamlessly. It also allows me to visually see everything in a way more cohesive way rather then hiding objects and viewing in Maya Arnold or making ROPs in the out tab of Houdini.
RED — Skittles
YELLOW — Easel
GREEN — Canvas
PURPLE — Canvas and Easel
Other Assets
Materials of the canvas (linen and wood) are subject to change possibly along with their material properties.
Scanned Assets Reshoots (Luma AI - NERFs)
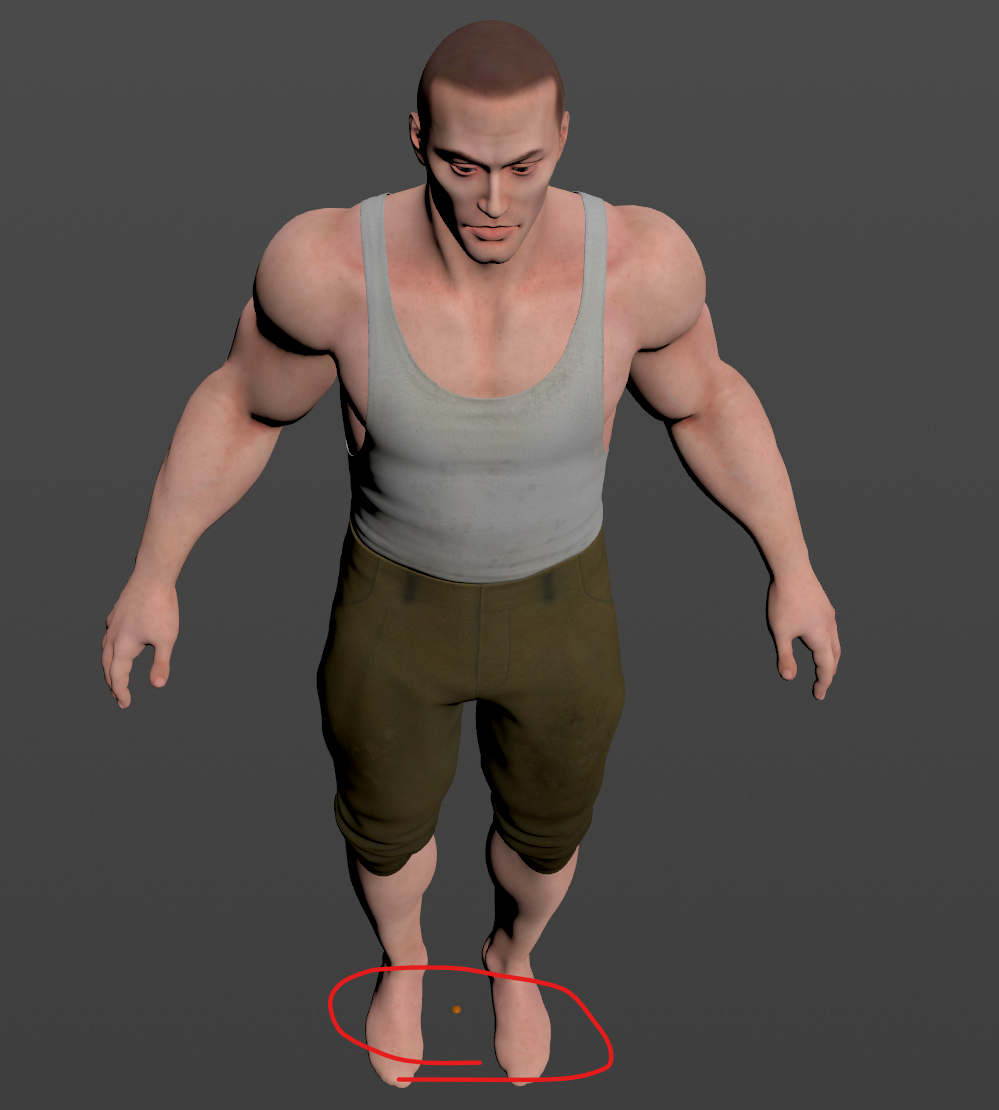
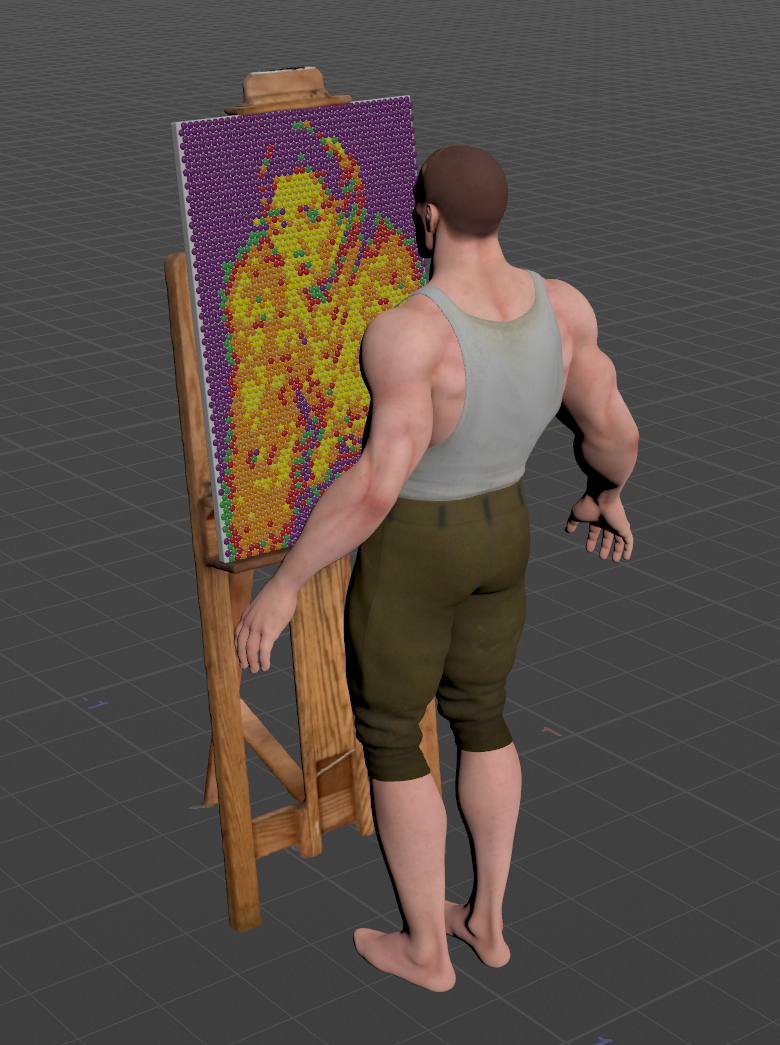
Took more scans when re-shooting of new assets, along with environment all thanks to Luma AI. This helps with overall Scale (Ruby, the actress, is 6 foot) and even positioning our HDRI to line up.
I approached a more tedious but better looking way to extract texture data by importing the original .obj mesh with the .mtl into maya where I then export it as an .fbx with embedded media. I then bring it into Houdini where I do a simple bake on a lower res workable geometry with good UV’s. The baking tool is not perfect but looks much much better then transferring the vertex colors and then upscaling using AI.
Fixing Scale for Simulations
During Week 1 when we had an idea of doing skittles and paintings I made a quick procedural system to make a skittles portrait that would grow using pyro source spread. I handed it to Eva who would then do all the Particle and Pyro effects from that setup. Only issue is when I was making that File I did not even consider scale at all. So after scanning and bringing in the easel asset and knowing Ruby’s height (6ft : 1.83m) I was able to position the easel and canvas to the correct dimensions. I also measured the size of a skittle and found it to be .015 meters. Knowing this I rebuilt the scene to help Eva do her FX in proper scale.
I also just wanted to get familiar with volume rendering in Karma and importing fields. I did this quick test using one of Eva’s older caches to see if the workflow is compatible with SCADs resources and also efficient in time.
Definitely not final and needs lots of work
All credit goes to Rohan Dalvi in this video: here
here he explains how to bring in the fields from the VDB and render them in Karma. Some of the nodes he was using wasn’t by default in my Material X builder network so I used this video: here, from Houdini themselves on setting up a volume in Material X
