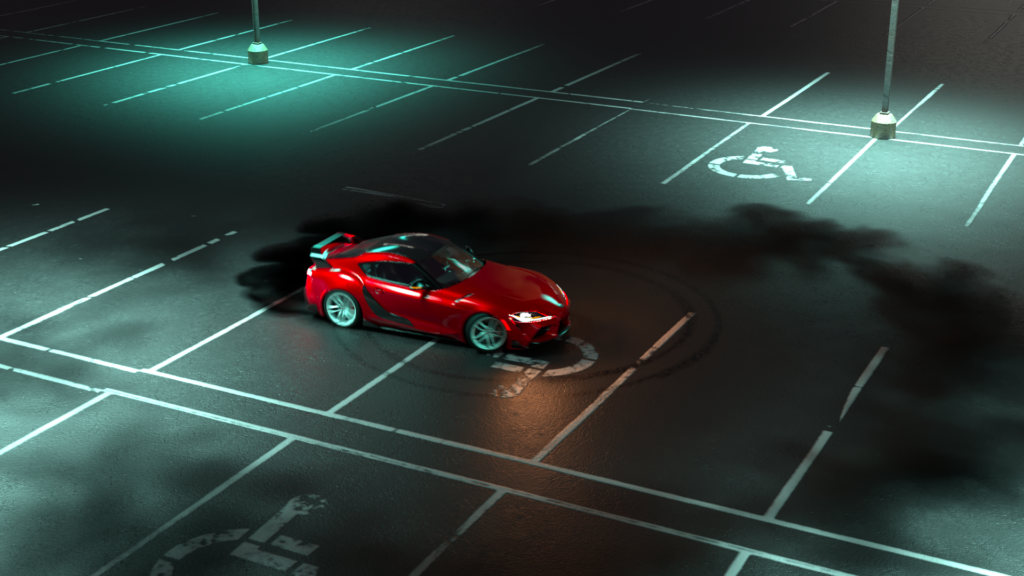
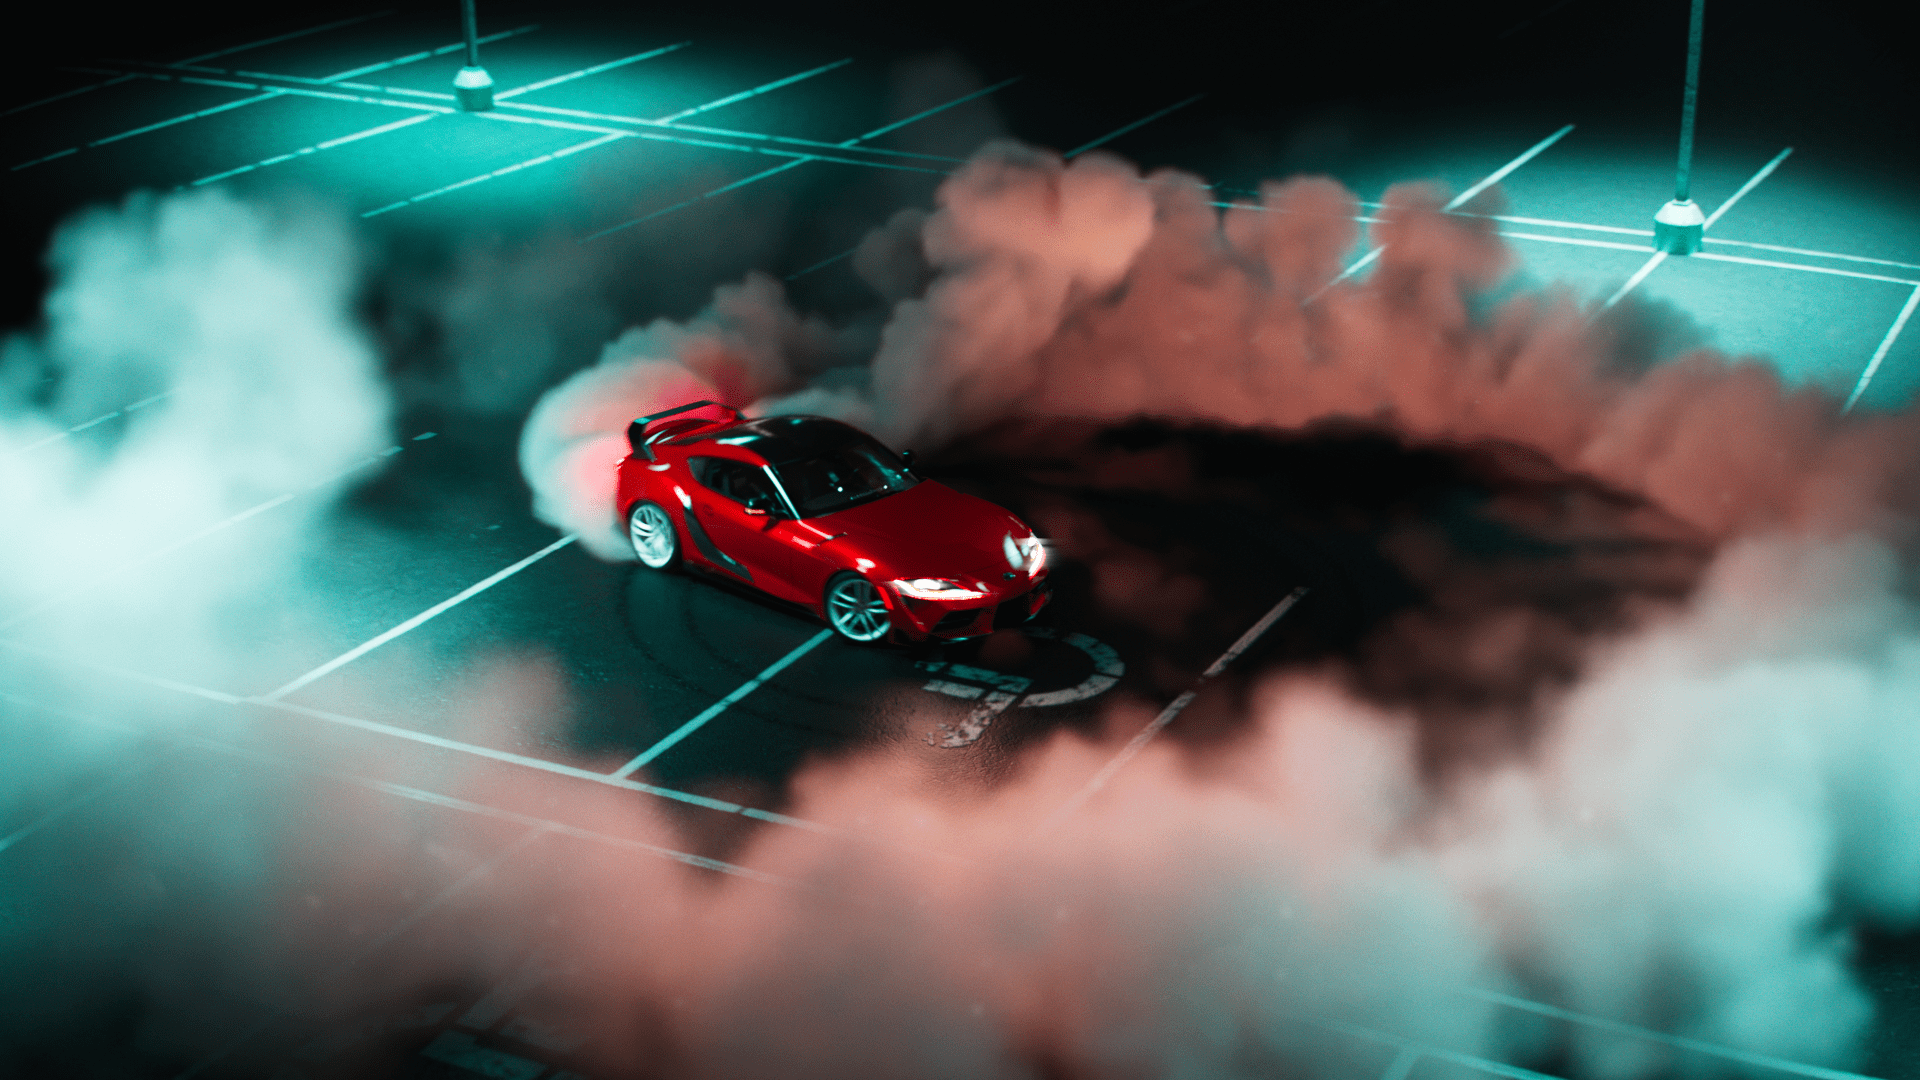
Supra Burnout
Responsible for FX, Environment, Look Development, Lighting, Compositing.
Software:
- Houdini – FX, Layout, Lighting, Rendering
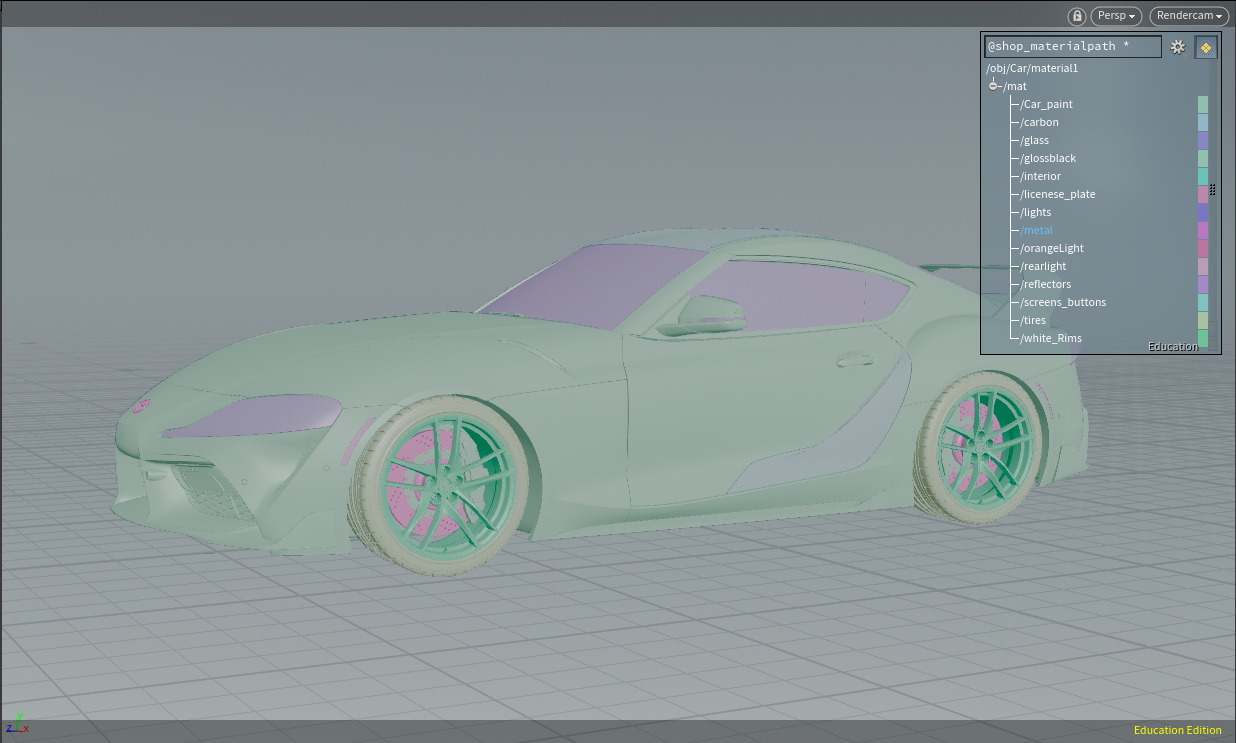
- Maya – Shading Groups, Mesh Cleanup, Lamppost Modeling
- Substance Painter – Environment textures
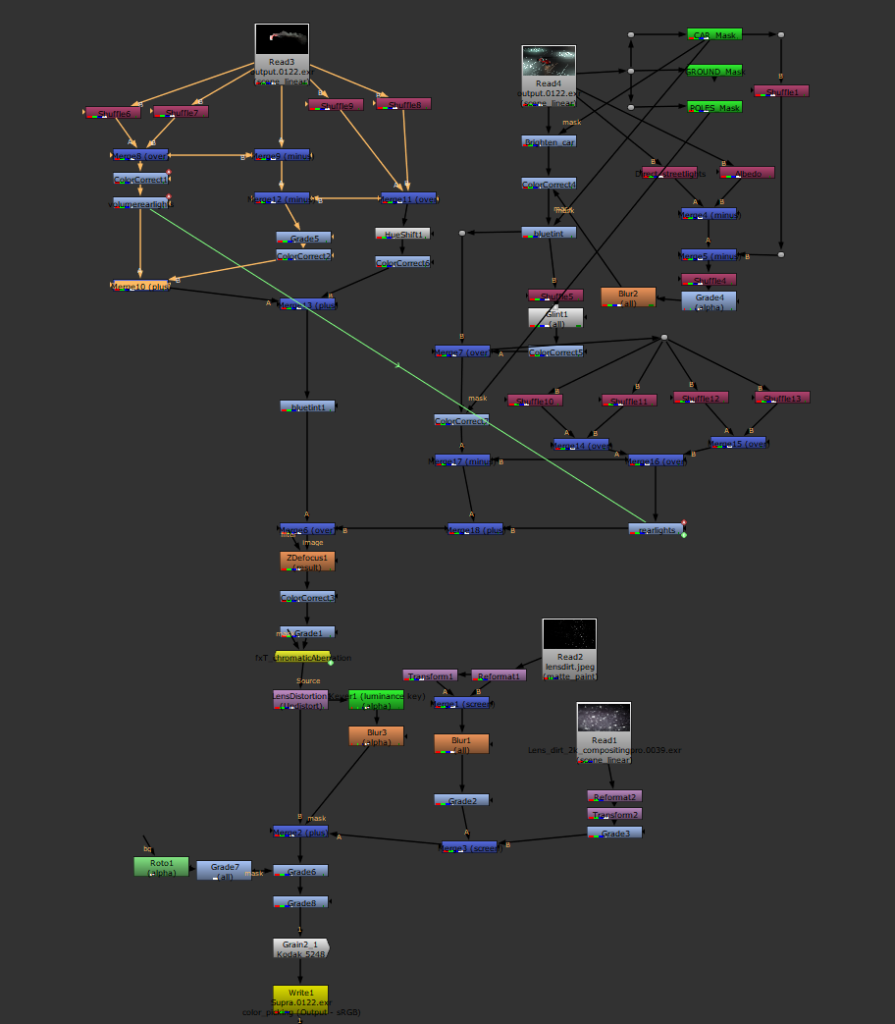
- Nuke – Compositing
Renderer: Arnold for Houdini (HtoA).
Reference
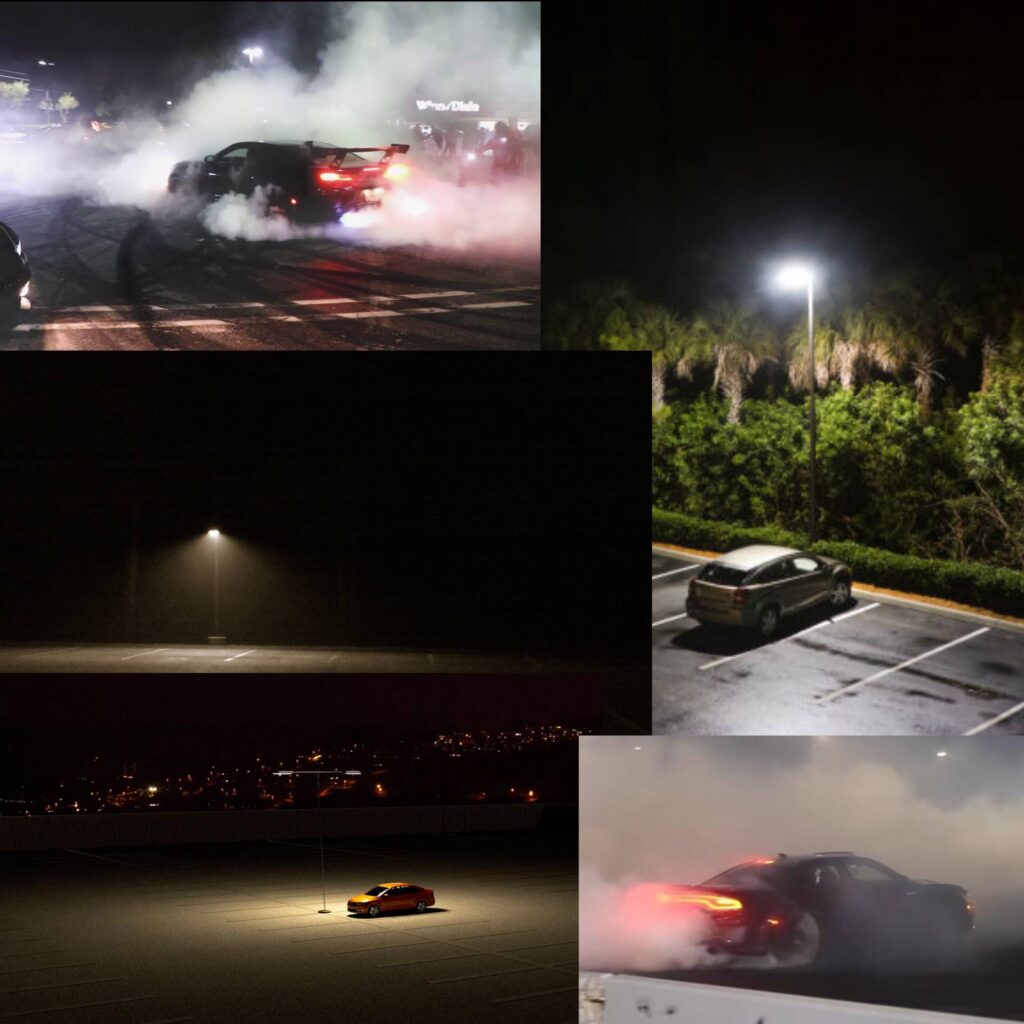
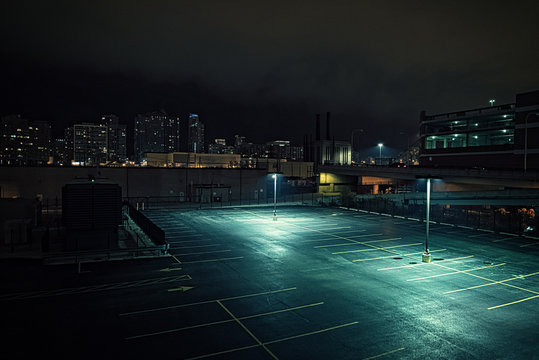
John Kunz has a livestream series on youtube that I referenced for my scene setup.
His techniques for setting up the pop source was extremely helpful!
Breakdown
Asset Prep
Scene Setup
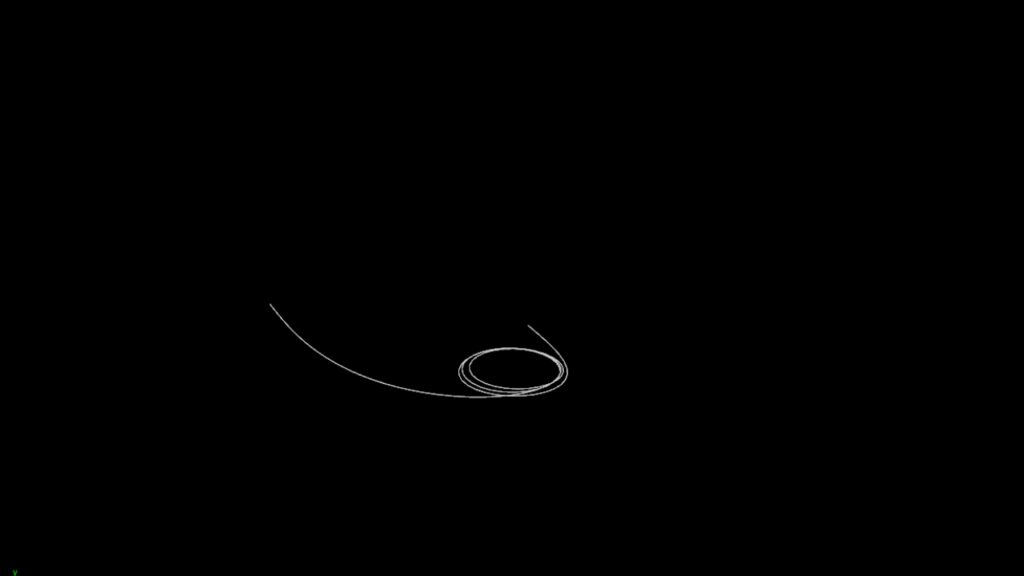
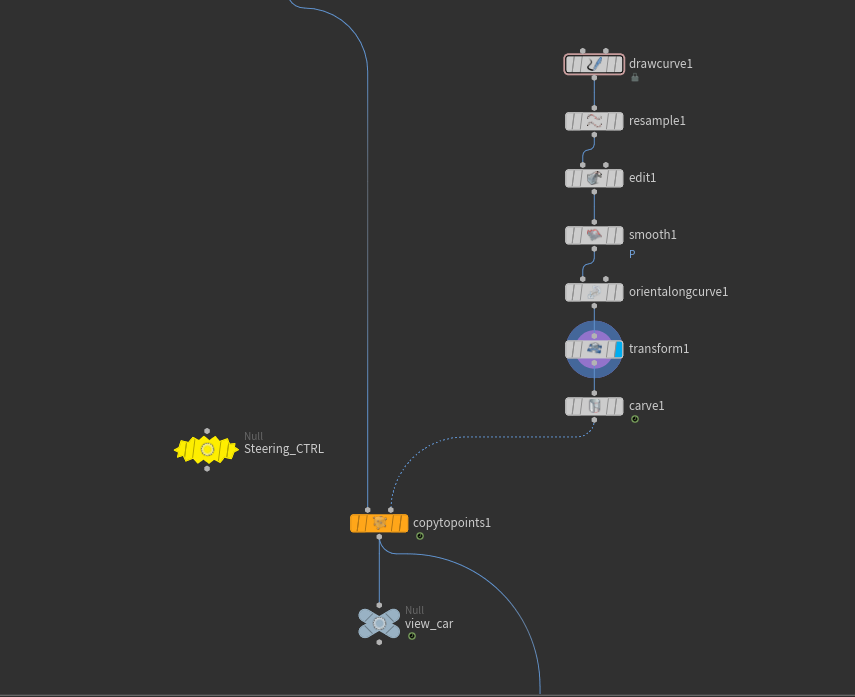
For the animation, I drew and smoothed a curve, then used a Carve SOP to extract a point. I keyframed the point to follow the path and applied a Copy to Points SOP on the car geometry. To enhance realism, I added a steering control to introduce a tilt.
Pyro Setup
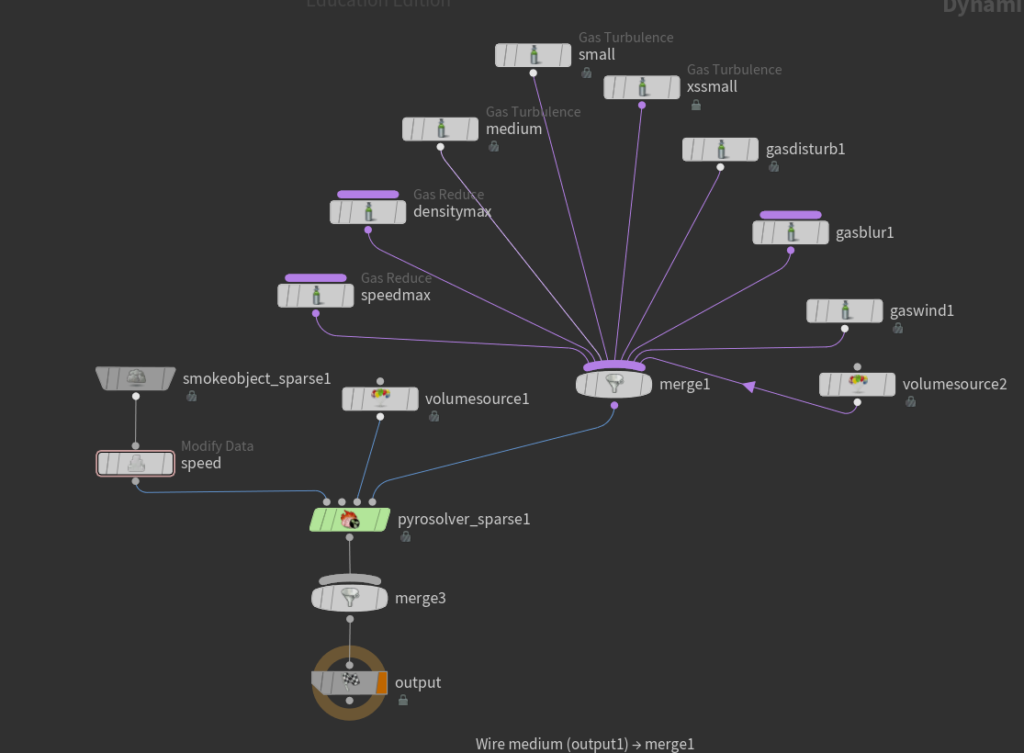
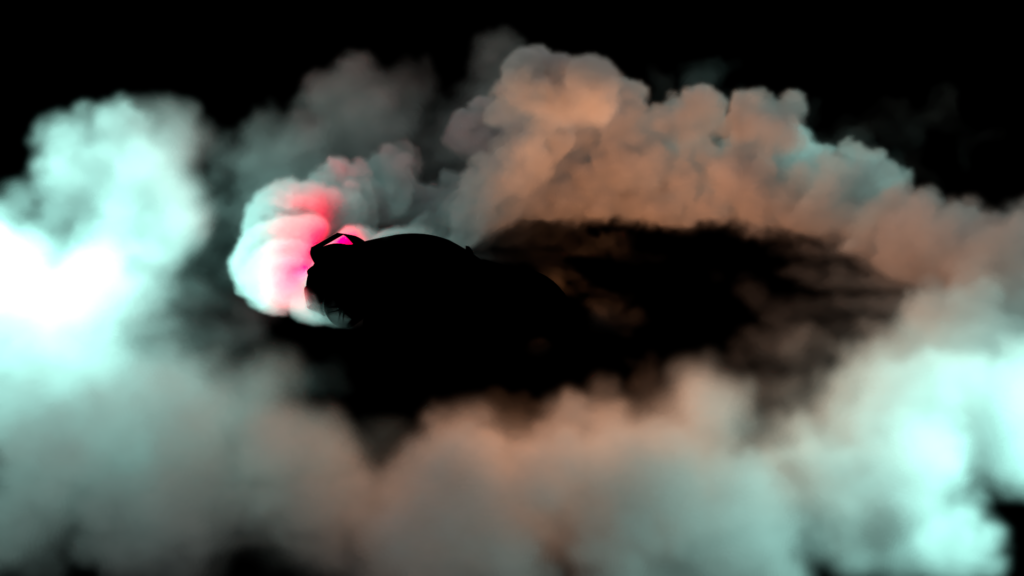
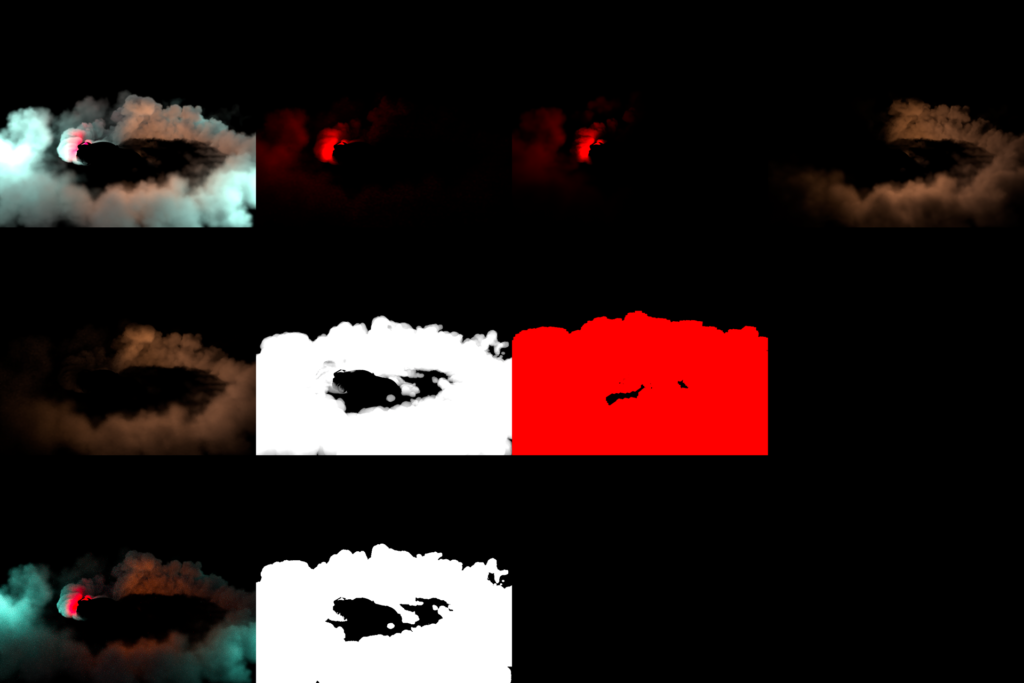
To achieve the perfect Pyro look matching my reference, I used a DOP network with the sparse solver and custom microsolvers for optimal results. The two videos below are excellent resources for understanding control fields in Pyro.
This video by HoudiniSimon (Simon Holmedal) provides an in-depth explanation of setting up Control Fields in the DOP microsolver. I followed this tutorial to gain better control over the turbulence in my simulation.
Control Fields in the microsolver let you define a min and max range to control specific areas differently. I used this to manage the effect of turbulence on density by applying a control field on max density and modifying data in the DOP.
This is a similar video, but it controls the smoke using speed instead of density. I ended up using this method for my simulation.
Final Pyro
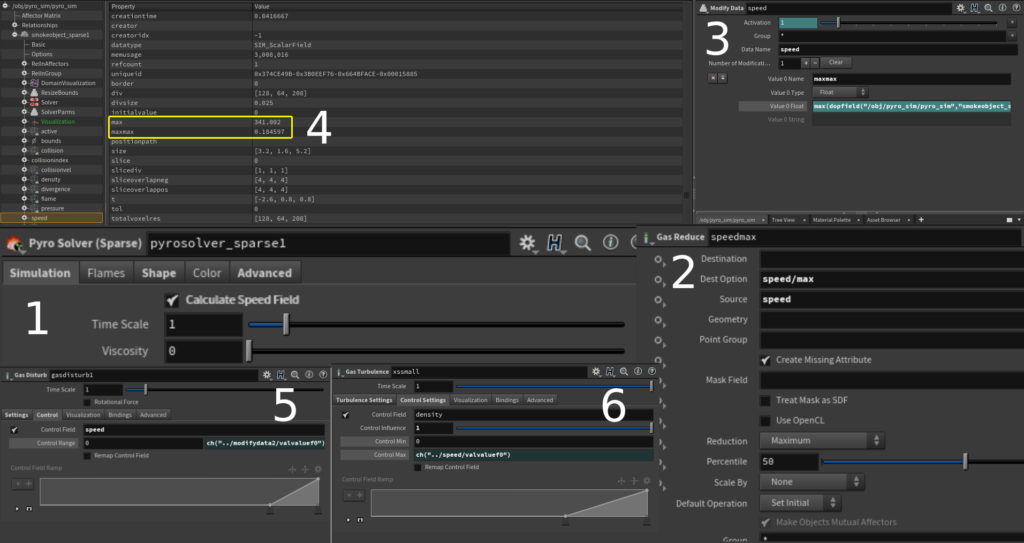
The Image above explains my Control Fields Setup.
1 ) I enable the speed field in the Pyro Solver
2 ) I add a Gas reduce to calculate the maximum speed
3 ) I add a Modify Data to find the absolute max because the speed changes throughout the simulation so It returns the max value always.
4 ) Displays speed values in the geometry spreadsheet
5 ) In my Gas Disturb I am using the speed field as my control field and using the Modify Data value in the Control Max
6 ) In my Gas Turbulence I am using the density field and using the Modify Data value in the Control Max
Treads Setup
To achieve the perfect Pyro look matching my reference, I used a DOP network with the sparse solver and custom microsolvers for optimal results. The two videos below are excellent resources for understanding control fields in Pyro.
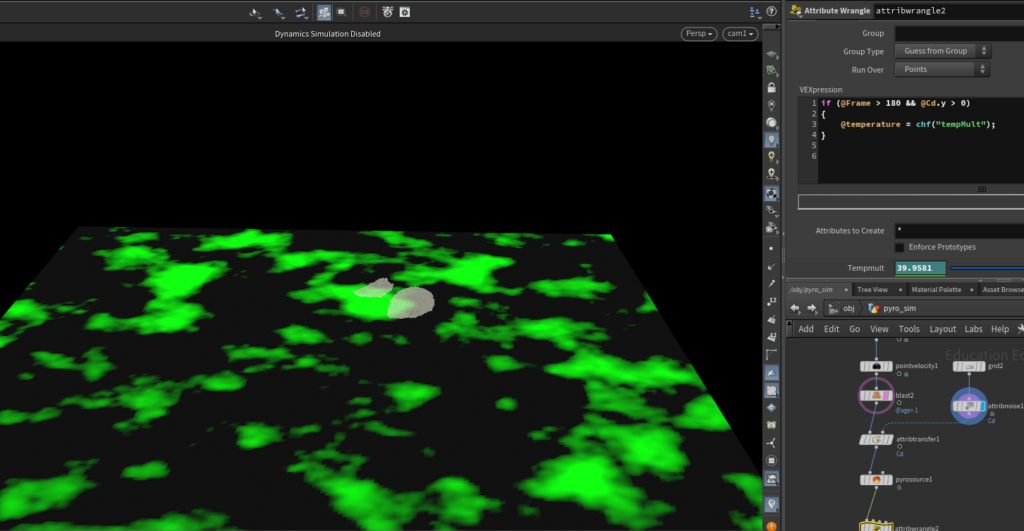
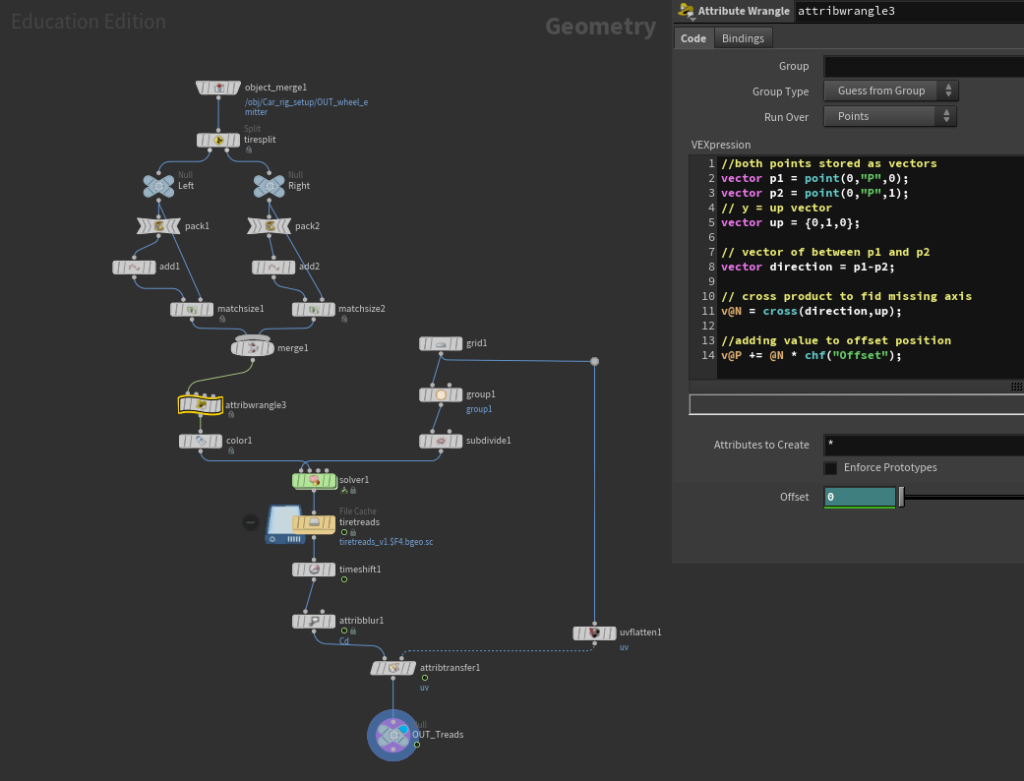
The Tread effect was simple to achieve. I utilize the same object merge I use for making my pop sim emitter. Instead I separate the rear tires, pack them to get only one point and match size it to be at the bottom of the tire. Then using an attribute transfer on very dense geometry I was able to get the tire treads which will work in the shader network.
I add a random function to change the width of the actual transfer for a bit of breakup.
I also do some VEX with the help of (Zach Jantz and Kyle Lin) to offset my transfer points to get more interesting tire tread shapes. (VEX included in node tree)
I use the solver SOP to keep the previous frame information which I then cache out.
